To change your availability start by clicking the Open my Availability tab above your schedule or navigating to Availability from the More Options menu.
Please contact your facility manager if you have same day emergencies.
Editing Availability on a Desktop - Preferred
Editing Availability on an iPad/Phone
Editing Availability Around Scheduled Appointments
Adding a Break to your Schedule
Note: Changes to your schedule must take place 24 hours prior to the start of the next day. If you open your availability in the future and you have an appointment booked, it is Spa Space’s policy that you honor that appointment. You will not be able to remove availability when an appointment is booked. Removing yourself from the day will not remove the appointment.
Note: For the best visibility, please adjust your availability from a desktop/laptop computer.
For Desktop:
- Once you have logged in to your Spa Space Provider account. You will be at your Dashboard. From here, click on the Open my Availability button.
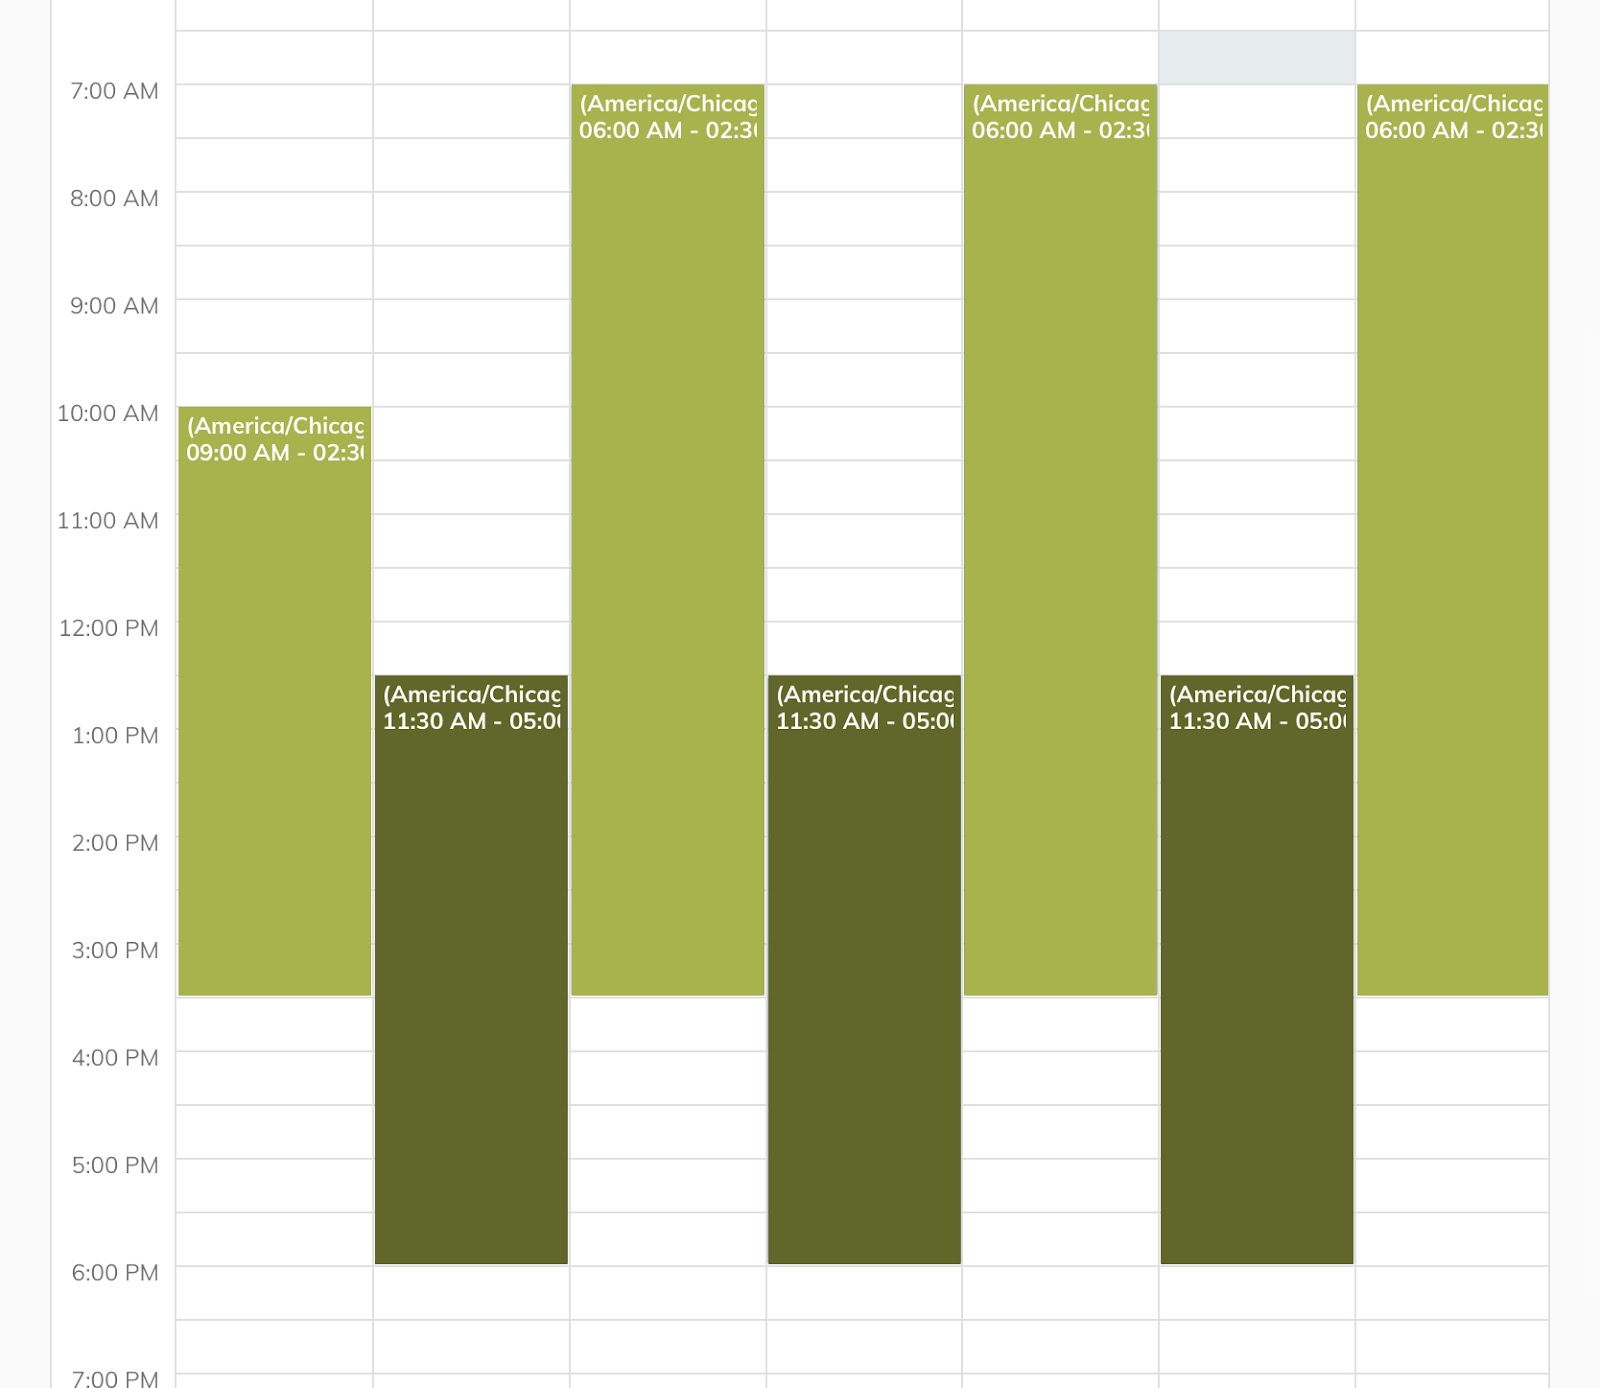
- You will now have a clear view of your availability for each of your associated facilities, you can adjust this view to appear as either a day view, week view from the drop down in the top right. From here, you are able to select the availability block that you wish to edit.
NOTE: It is best practice to schedule your lunch break when you work a full days schedule. To do this make two distinct AM/PM schedules.
- Once you select the availability block, a popup will appear. This popup will list the time for the selected availability, as well as a trash can icon. To adjust the times, simply click anywhere on the popup bar where the times are listed. To delete the availability, click on the trash can icon.
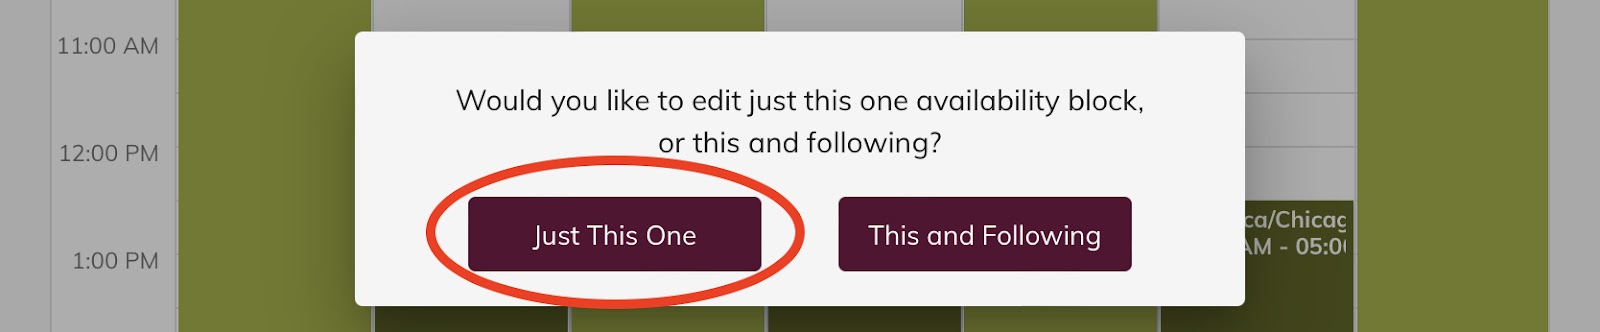
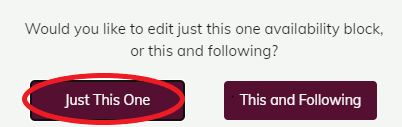
- Another popup will appear, presenting you with the option to adjust only the selected availability block, or to adjust this and the following. First, we will select the Just This One button, to only adjust the block for this day.
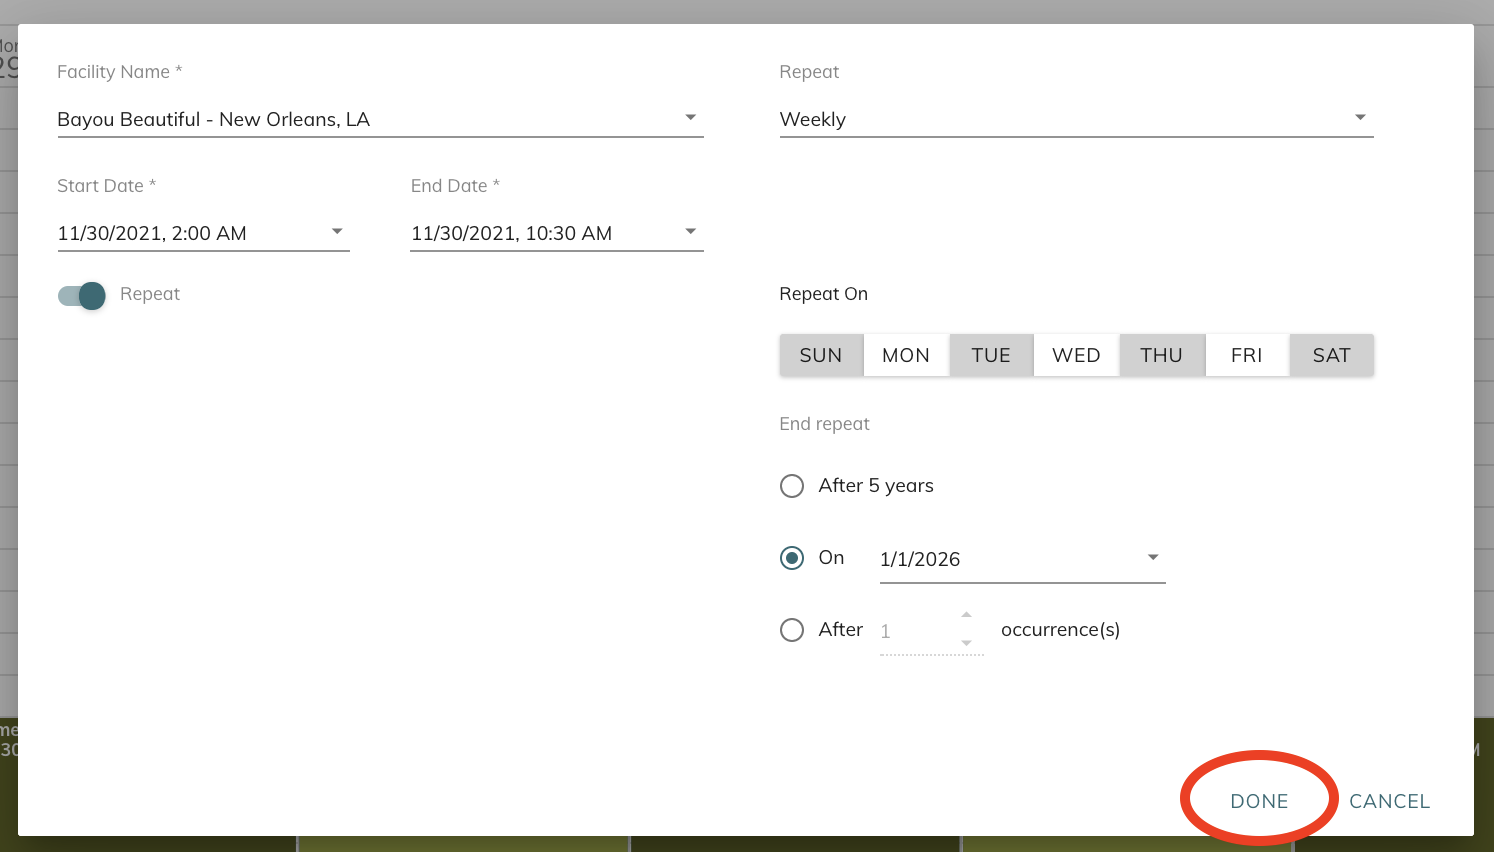
- The next popup will give you the options to adjust the dates and times of this specific individual availability. Click Done to finalize and save your changes.
- You will now see that the changes have been made.
- To adjust your availability for a specific block, while also adjusting the future blocks in that series, you will instead select This and Following when the appropriate popup appears after clicking on an appointment block.
- From here, a different popup will appear, that will allow you to adjust all recurring availability within the selected series. You can adjust the frequency at which this availability occurs, the times, as well as the start/end dates for the series. Once you have made the changes you wish to make, click Done to finalize and save.
- You will now see that all availability blocks for the selected series have been adjusted.


For iPad/Phone:
While it is best practice to adjust your availability on a desktop/laptop computer, you are still able to on an iPad or phone. The process is similar.
- Once you have logged in to your Spa Space Provider account. You will be at your Dashboard. From here, you will select Schedule from the top of the screen.
- You will now have a clear view of your availability for each of your associated facilities, you can adjust this view to appear as either a day view, week view, or month view. From here, you are able to select the availability block that you wish to edit.
- Once you select the availability block, a popup will appear. This popup will list the time for the selected availability, as well as a trash can icon. To adjust the times, simply click on the popup where the times are listed. To delete the availability, click on the trash can icon.
- Another popup will appear, presenting you with the option to adjust only the selected availability block, or to adjust this and the following. First, we will select the Just This One button, to only adjust the block for this day.
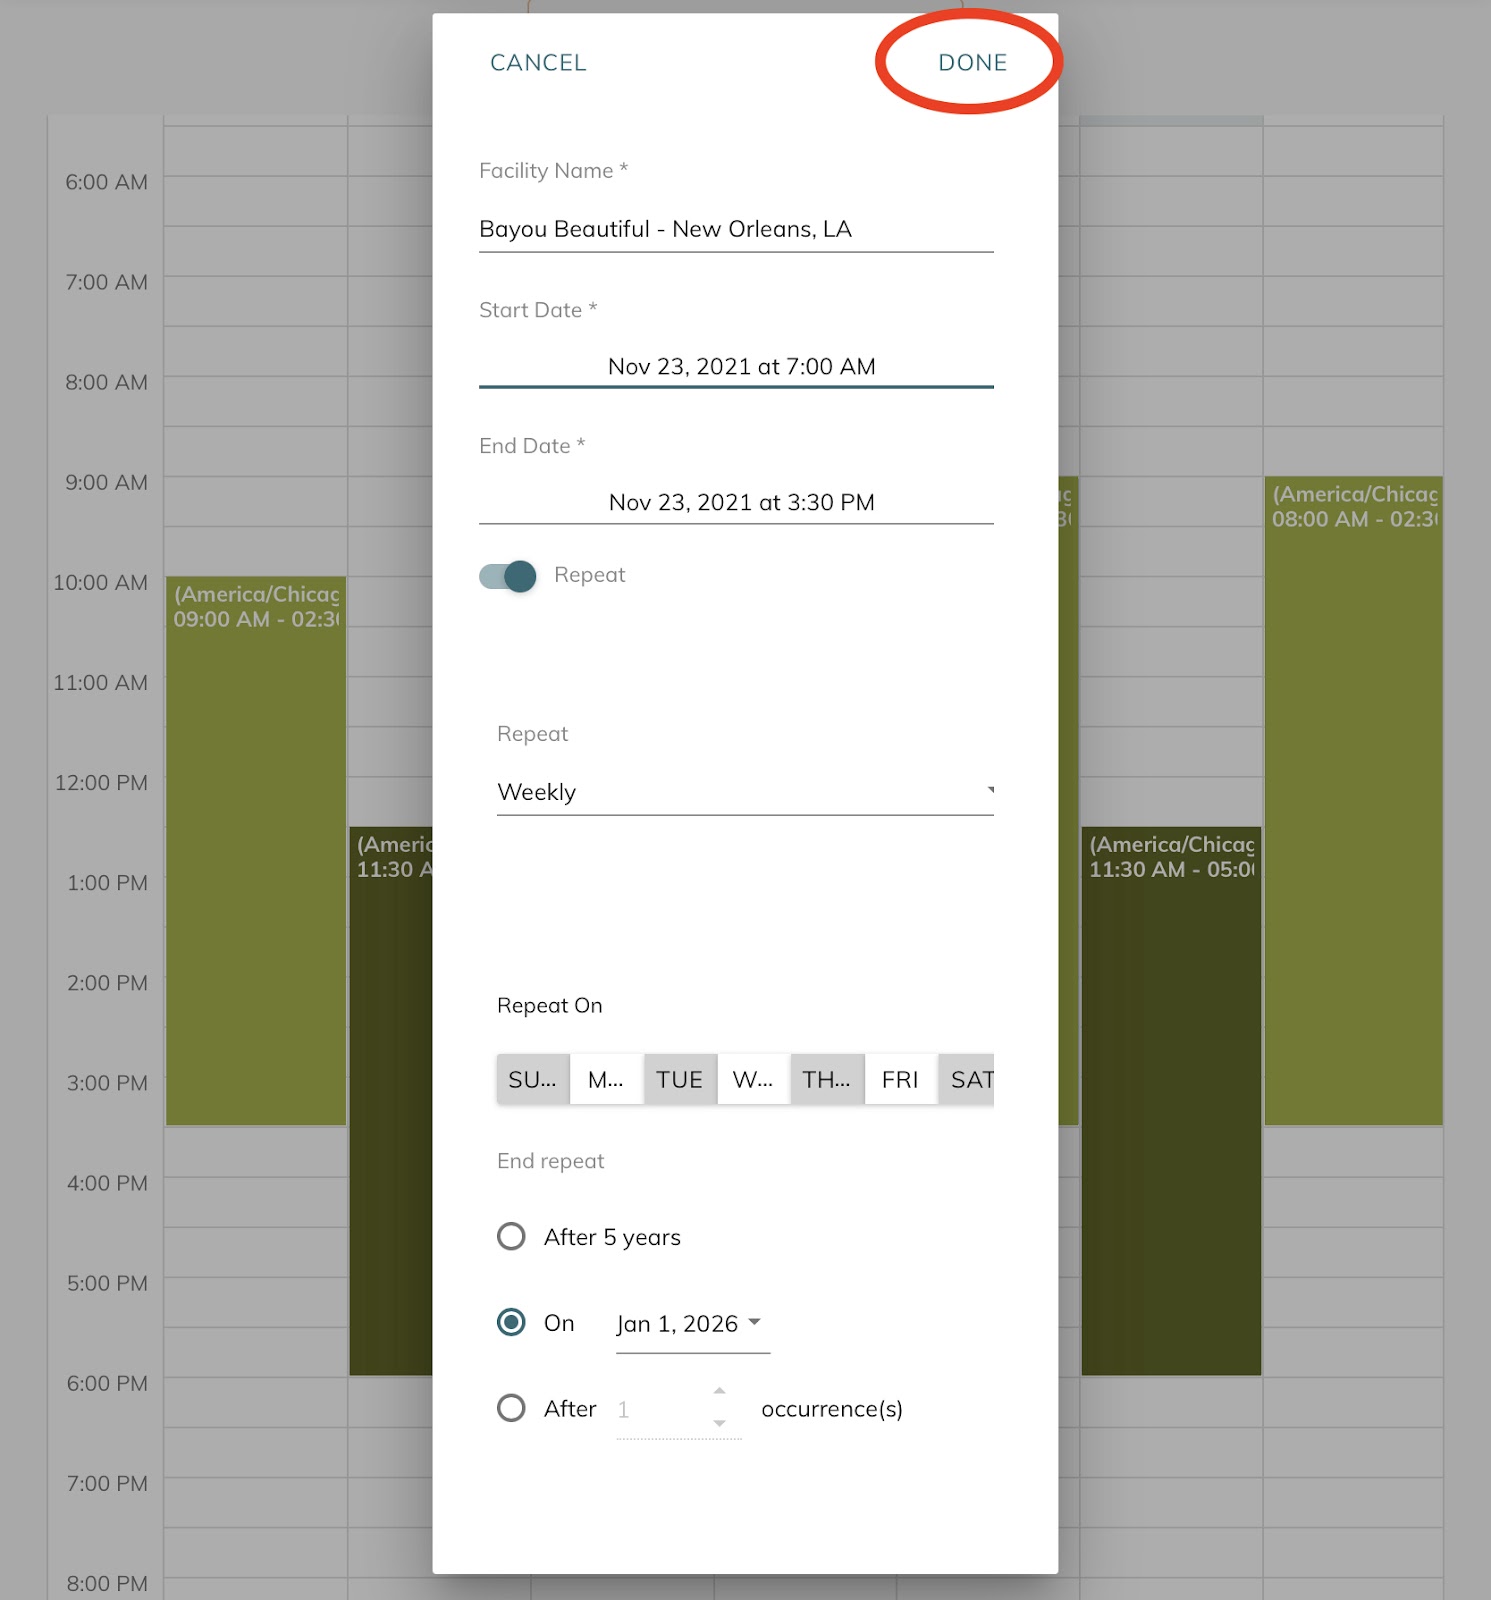
- The next popup will give you the options to adjust the dates and times of this specific individual availability. Click Done to finalize and save your changes.
- You will now see that the changes have been made.
- To adjust your availability for a specific block, while also adjusting the future blocks in that series, you will instead select This and Following when the appropriate popup appears after clicking on an appointment block.
- From here, a different popup will appear, that will allow you to adjust all recurring availability within the selected series. You can adjust the frequency at which this availability occurs, the times, as well as the start/end dates for the series. Once you have made the changes you wish to make, click Done to finalize and save.
- You will now see that all availability blocks for the selected series have been adjusted.


Editing Availability Around Scheduled Appointments
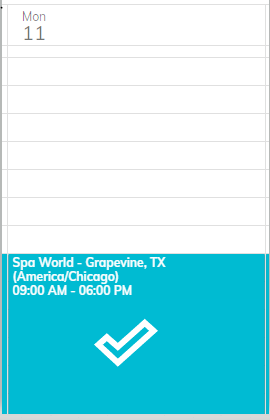
1. View your schedule for the day you would like to reduce availability. Select "Open my Availability".
2. Choose the appointment block on the day you would like to reduce availability.
3. Select the timeslot you would like to modify.

4. Select "Just This One".

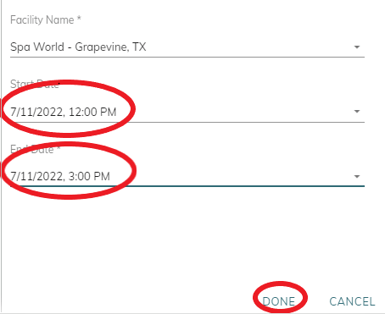
5. Modify the Start and/or the End Date and time. The select "Done".
Note: Change AM/PM as needed.
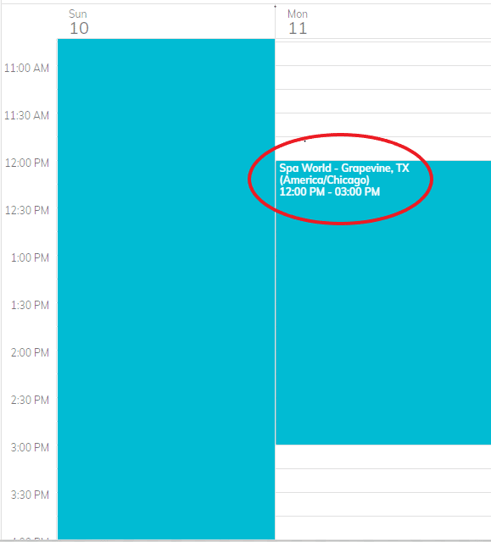
6. Verify your changes were saved and the correct times are displayed.
How do I add in a break or lunch on my schedule?
Please check with your facility manager on guidance for scheduling breaks.
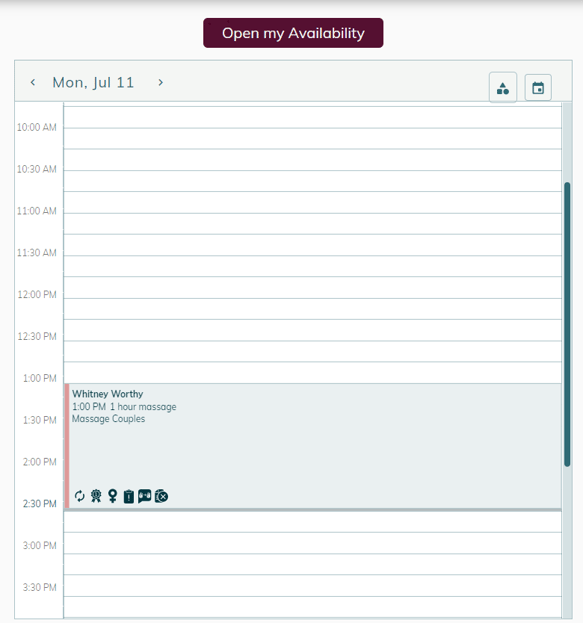
1. Check your schedule to see if there are appointments you will need to work around. Choose "Open my Availability".
2. Choose the appointment block on the day you would like to reduce availability.
3. Select the timeslot you would like to modify.
4. Select "Just This One" or "This and Following" if you wish to add a permanent break or lunch.
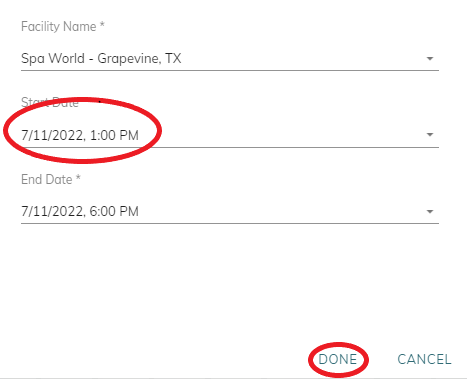
5. Create or modify your first availability block.
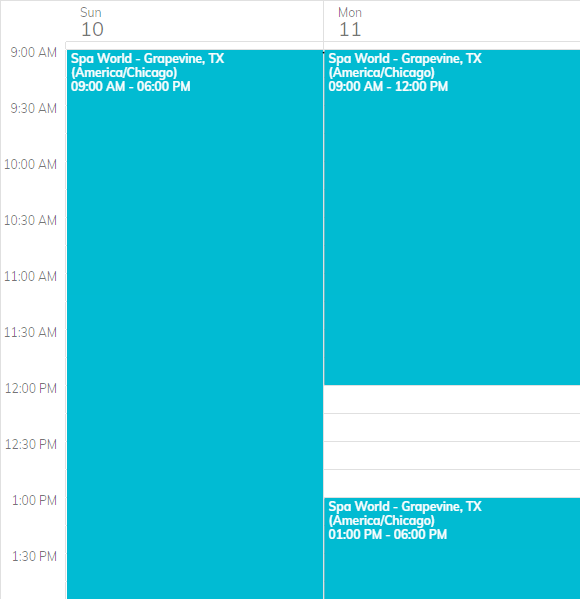
Note: If an appointment exist on the schedule you will need to make sure the first block you edit contains the time of the appointment. In the above example, the provider is booked at 1:00 pm so we will start the block with that time.
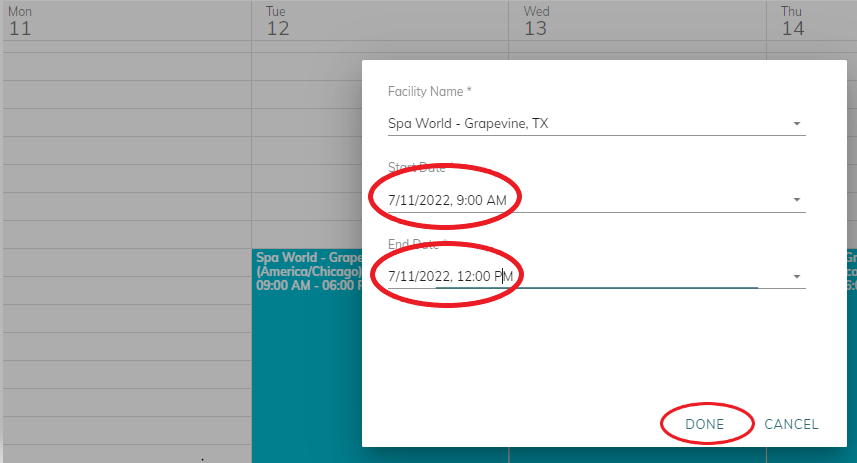
4. Create your second availability block, before or after, your break or lunch. Double click in the unscheduled blank area to create a new block and choose your facility.
Note: In this example the provider has an afternoon appointment already booked so we will add a morning block.
5. After creating both you should have two schedule blocks with time in between.